By using the branding interface, you can:
- Replace the main logo that appears throughout the web interface
- Insert a different logo that gets applied to PDF documentation
- Choose a primary color that sets the tone for the application color scheme
- Customize the messaging that appears on the login page
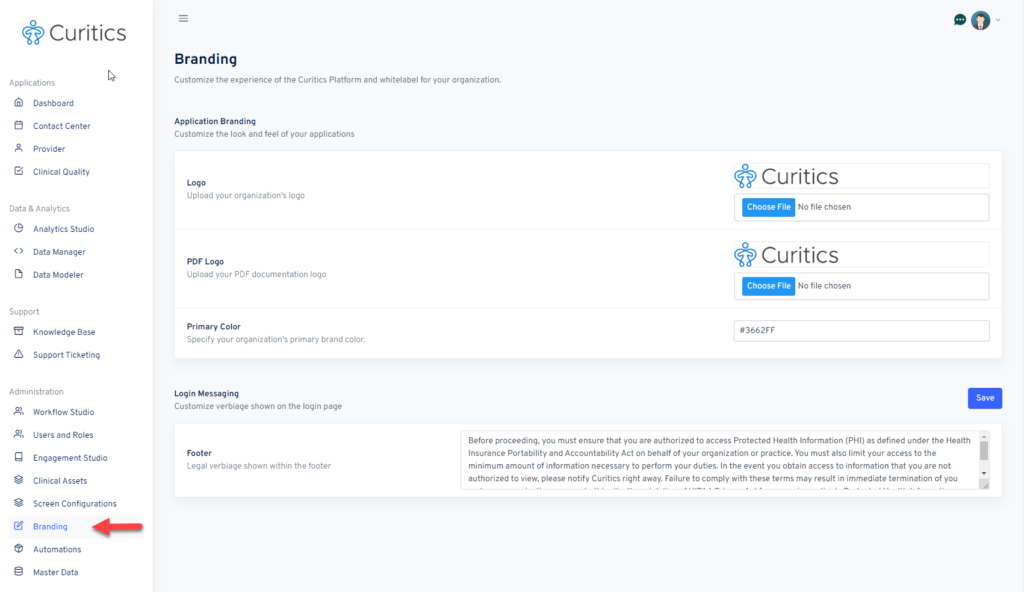
Accessing the Branding Interface
- Log in to your Curitics account.
- Navigate to the
Adminpanel located in the main dashboard. - Select
Brandingfrom the left-hand sidebar.
Requirements
- Logo images should be in PNG, JPEG, or SVG format.
- File size should not exceed 2MB for each image.
Main Logo
The main logo appears in the top left corner of the Curitics web interface, serving as a constant branding element while users navigate through the application.
How to Update the Main Logo
- In the
Brandingtab, find the section labeledMain Logo. - Click
Uploadand browse for the image you wish to use. - Once uploaded, you can preview the image. If satisfied, click
Save.
PDF Documentation Logo
The PDF Documentation Logo will appear on all PDF files generated by Curitics. This provides another layer of branding that follows your company’s identity.
How to Update the PDF Documentation Logo
- Scroll down to the section labeled
PDF Documentation Logo. - Click
Uploadand select the image you wish to apply. - Preview the image; if everything looks good, click
Save.
Primary Color
The primary color will set the tone for your application, affecting elements like headers, buttons, and links.
How to Update the Primary Color
- Locate the
Primary Colorsection. - Click on the color box to open a color picker. Here, you can either manually choose a color or input a hex code.
- Once you’ve chosen a color, click
Save.
Login Page Messaging
Customize the message that users see when logging into the application. This is an excellent opportunity to communicate updates, motivate your team, or present a branded welcome message.
How to Update the Login Page Messaging
- Find the
Login Page Messagingsection. - You’ll see a text box where you can input your custom message. Basic HTML is supported for simple formatting.
- After entering your message, click
Save.